I had to thank myself yesterday. You see, I’m rebuilding my Jeep ZJ and as you know, it’s been pretty beat up. I’ve torn out and replaced the rear suspension, and am now working on the front and I have to tell ya…I’m glad I kept up on the basic maintenance.
.
We all know that when bolts are rusty, they strip, they snap and when they do…they create a situation that makes you spit, swear and wish you were a little better with  drills, taps & dies.
.
My buddy, my ZJ, has its share of rusty bolts, but thankfully, I’ve kept up with it using miracle products like..ya know…grease, ant-seize and my personal favourites, Amsoil’s MP metal protector and KB88.
.

.
When doing things like…brakes, shocks, control arms…etc, a bit of grease can go a long long way. Not for now, but for the next time. It’s a good habit to get in to. It takes about 2 seconds for you to coat that bolt before putting it back in and it will help save you from having to cut, slice, drill or punch out a bolt.
.
Randy showing off his skills
.
My Mustang, along with many other of the sporty race and street based vehicles I work on never see snow, hibernate in the winter and are rust free, but my Jeep…takes Mother Nature out to dinner, leaves her with the cheque and drives through what she throws at him.
.
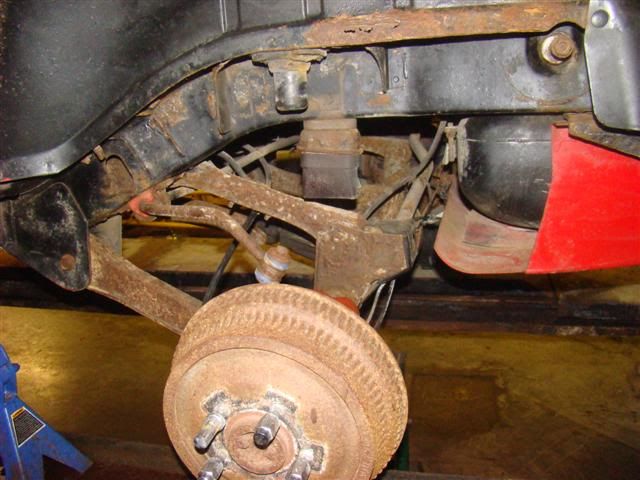
Needless to say, winters, especially Montreal winters are brutal on a vehicle. Since I’ve had it, I haven’t had to do much on the rear suspension, but have had the front suspension apart a few times in the last couple years.
.

.
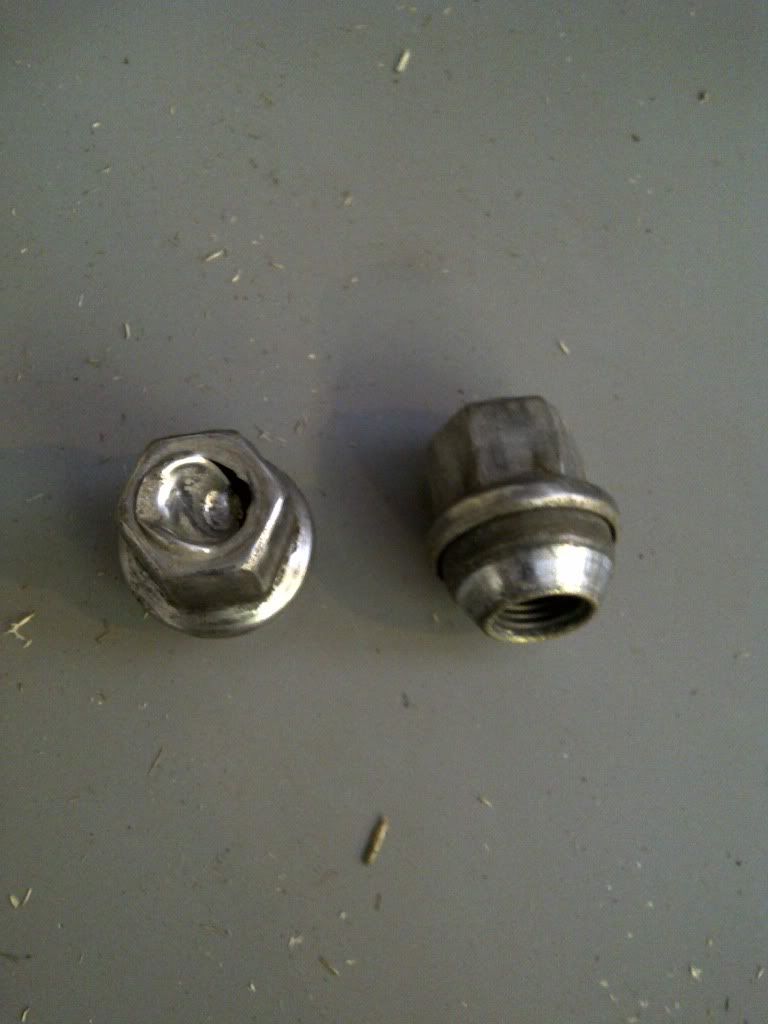
When I removed the rear suspension in trade for the Rough Country 3.5″ lift set up, I had to replace many of the bolts, nuts and pins. In the front however, I was happy to see things like the hub bolts come out with ease still coated with the Amsoil grease from a couple years ago. Not one stripped bolt, not one that needs to be replaced. This makes my life much easier as instead of running around trying to match bolts, I can concentrate on getting things done.
.

.

Companies have introduced so many products to the market to help us with these things. I have my own personal favourite arsenal that I use on a regular basis, 2 of which are above, but also torches, bolt outs, a series of wrenchs and of course, a little bit of technique can go a long way.

.

So just a little tip…use proper torque settings, use some grease and/or anti-seize, and you’ll make your next job a little more easier!

Feb 02nd by Bannon

Just a quick lil blogspot to talk to you about something often overlooked and the cause of major headaches and big bills.

.

Yup. Your nuts.

.

Lug nuts that is..or even for you VW/Audi folk…wheelstuds.

.

Most of us out there who own a car, generally know how to change a tire. Well..most of you who read this blog anyhow. For the others, there’s always CAA but I could just imagine what it’d be like on the side of the road with a flat in sub zero temps with this problem.

.

Lately I’ve seen this out of a few companies, mainly Jaguar and Dodge. The selection of lug nuts they have used, are the nut covered in plastic type and really though, what a pain.

.

What happens with these hybrid wannabe nuts is that when you simply put your socket on and twist, the lil plastic cap part breaks and spins around the actual inner lug thus draining your air compressor, wearing your muscles and not correcting whatever it is you need to be doing after removing the wheel. Once this plastic cap breaks there are only so many options.
.

.

1. Try a different socket. Success rate? 1/10. Sometimes, a smaller socket can morph itself onto the nut and get it loose.

.

2. Bolt out. Success rate? 4/10. It can work, but often just grabs the plastic part and spins like a socket.

.

3. Elbow grease and chisel. Success rate? 10/10. Quite the annoyance though. You basically get in there with a little chisel and chip/peel away at the plastic part until the actual metal nut is showing. Grab the right socket and you’re off to the races. Or local auto store for new nuts. Remember though, your goal is to just remove the plastic, not chisel into the actual nut.

.

Now I’m sure many of you guys out there have many solutions, ideas and methods on how to remove one of these. I’m not saying your wrong and these are the only ways to get at it, just saying that I have found this to be the easiest way. It’s happened to me a few times now and I must say, I’ve gotten pretty good at removing these pesky little jerks without damaging the mag.

.

And if all else fails, well, it’s DRILL BABY DRILL! Right through the nut and into the lug itself until it comes free. Then of course you would have to replace the lug.

.

Now onto our next topic under the “Who’s Nuts? Lug Nutz?!” category.

.

TORQUE!

.

Come on guys…easy on the impact when putting your wheels on. The torque specs for a car range from about 75-110 for cars and lighter trucks. Not the old “stand on the breaker bar and jump a few times” technique. Over torquing can do some damage up in there. Especially on aluminum rims. Say you stick it to the man, remove your frustrations and set that air gun to max and tighten away, it sits on the rim for a season or so and guess what. It’s basically welded to the rim. If you are unable to get it off afterwards, especially of you’re on the side of a highway, you are surely looking at a tow along with a couple hours labour bill at the garage.

.

Not only does it screw up your nut, but it can also pull the lug through the hub, snapping it apart, warp rotors, crease your mag…etc. And please don’t put any anti-seize on there. They are “dry lugs” which means to be torqued, with a torque wrench to the spec without any lubricating aid.

.

.

Your local auto parts supplier, and your mechanic will be able to get you the appropriate lug nuts for your vehicle. They come in all shapes and sizes, colours and styles. I have seen this cost people extra money that they didn’t have to spend. So just a tip and word of advice, have a look at your nuts. Literally.

.

Safe drivin’ everyone!

Jan 25th by Bannon